UK Foundation Half Treble (foundation htr)
US Foundation Half Double Crochet (foundation hdc)
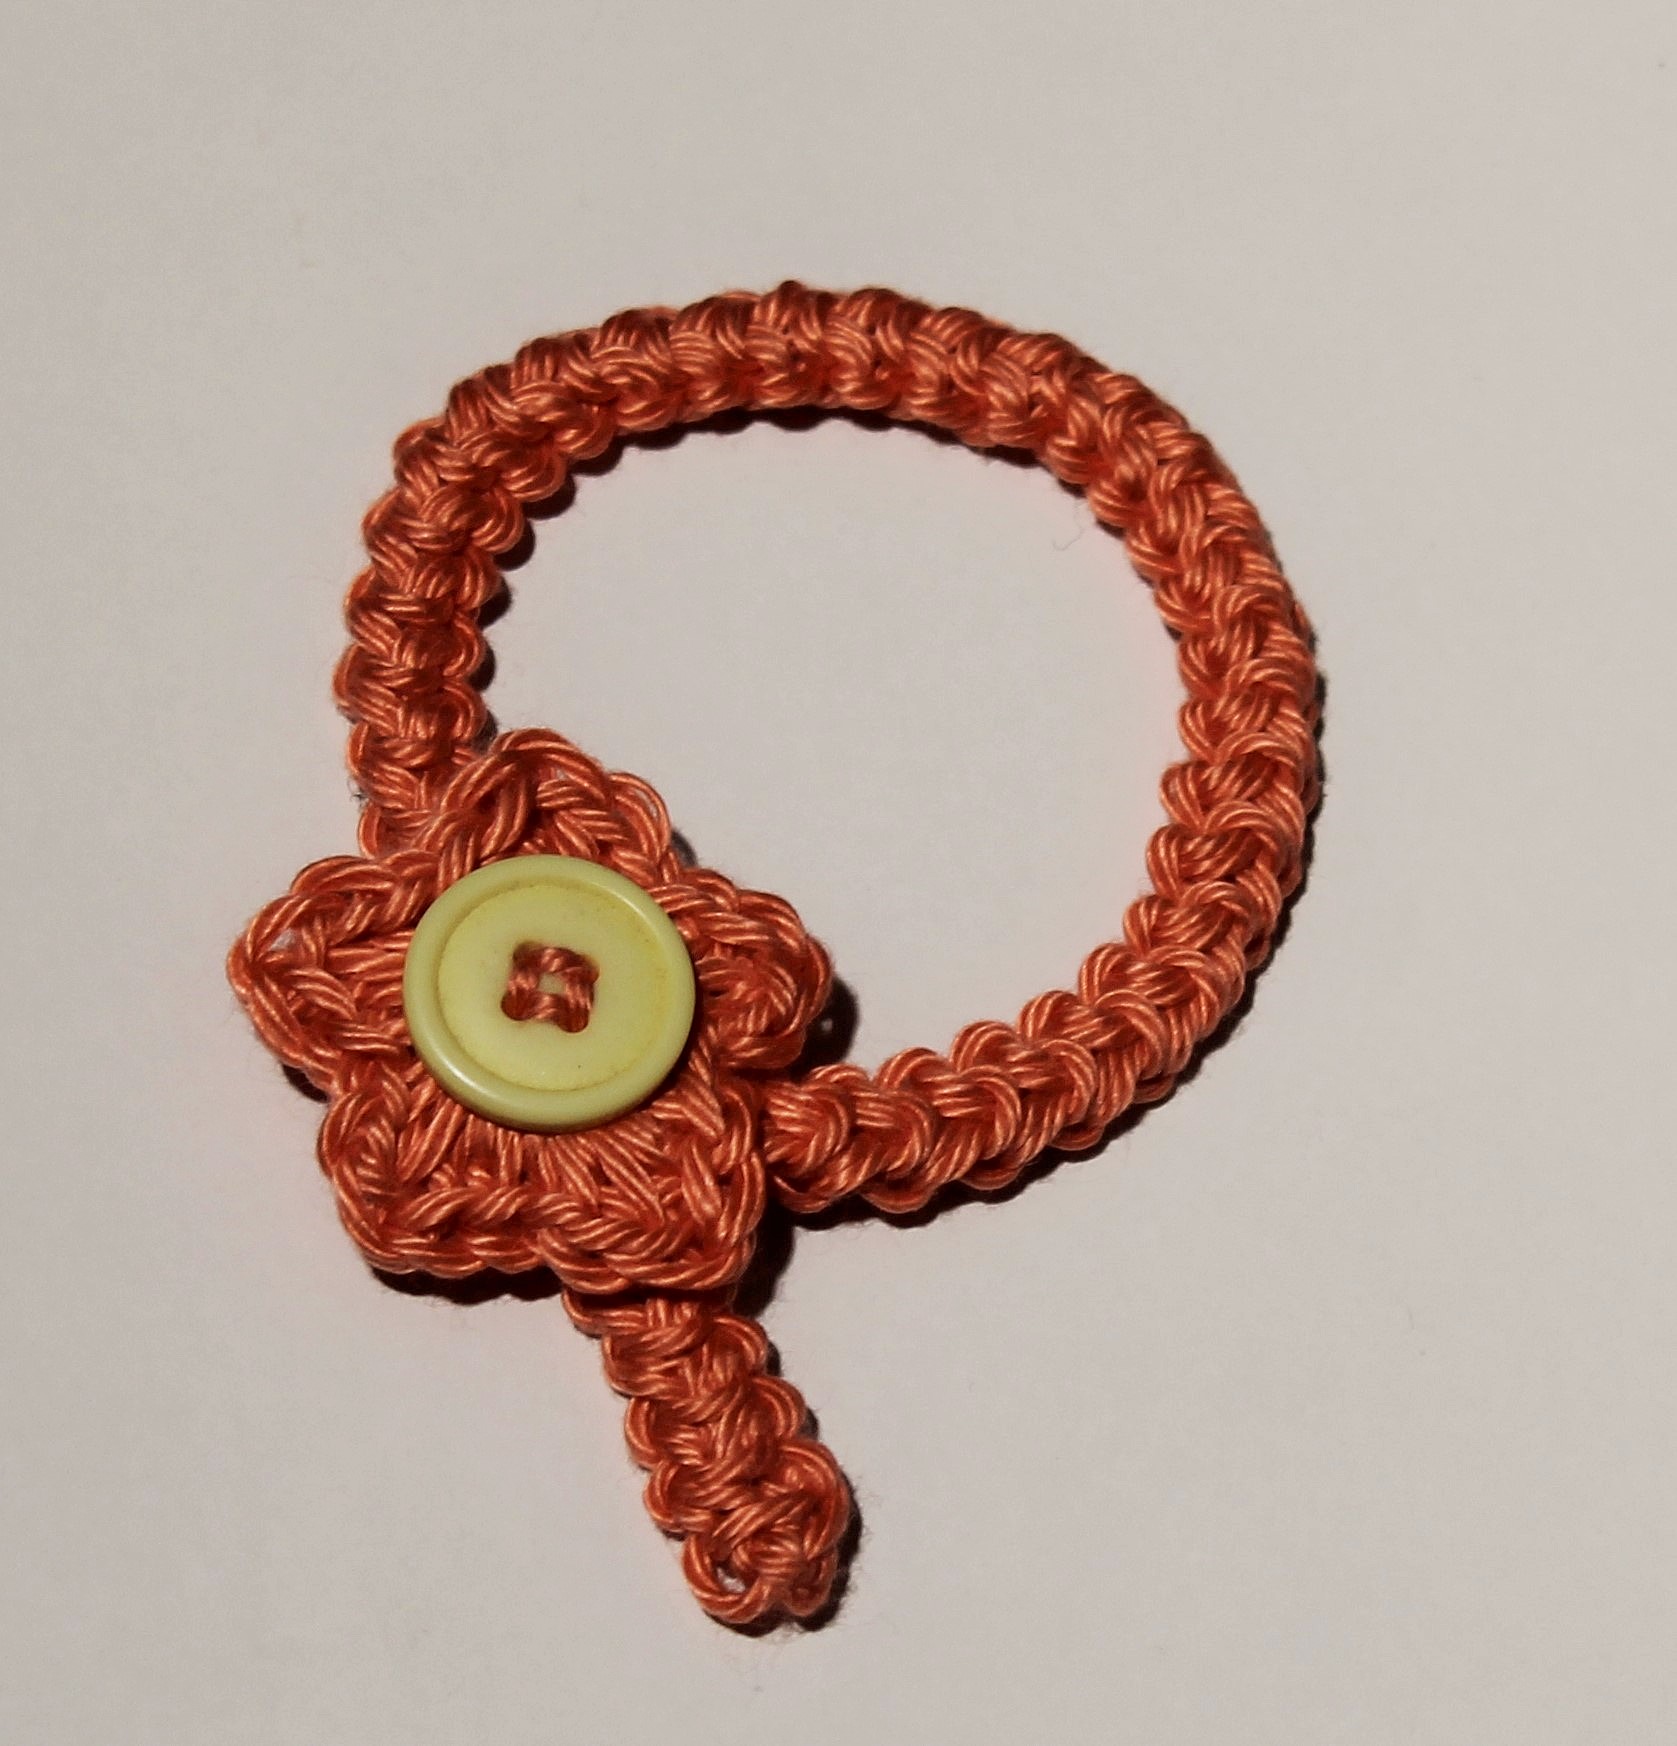
In preparation for a new pattern I’m releasing soon, I thought I’d do a quick refresher on this foundation chain and stitch combination.
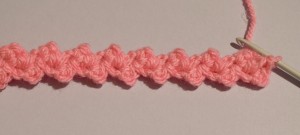
This method is particularly useful for necklines since the edge will be more elastic than if the chain and stitch were worked separately.
That’s all the hints you’re getting, you know ;) So let’s get on with the tutorial. You can click the link below to view in US terms if you prefer :)
UK Version (Alternative US Version)
Abbreviations
CH – chain
HTR – half treble
YRH – yarn round hook
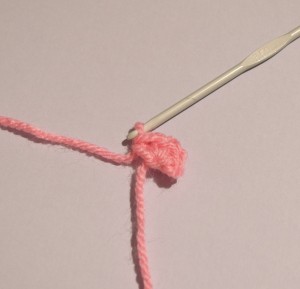
1. Using the hook and yarn you’ve chosen for your pattern, make 3CH

2. YRH and insert the hook into the 3rd ch from the hook (i.e. the first of the 3CH you made)
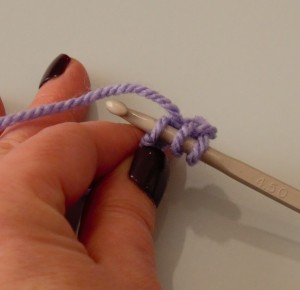
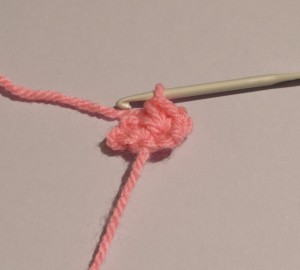
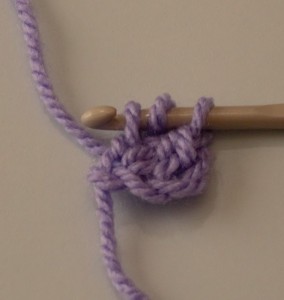
3. YRH again and pull a loop through the stitch – you now have 3 loops on your hook:
So far the stitch has been worked in the same way as you would normally make a HTR. But this is where it changes.
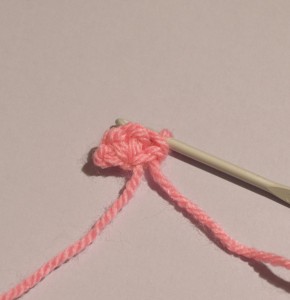
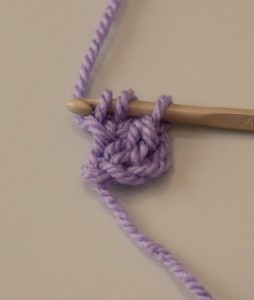
4. YRH once more and pull the yarn through the first loop on your hook – in effect making a CH next to the hook – you will still have 3 loops on your hook.
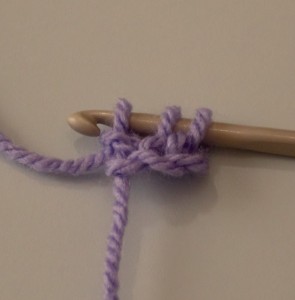
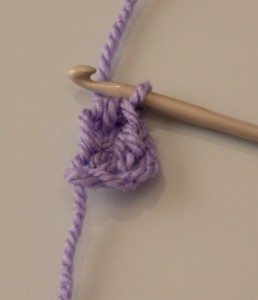
5. Finish the foundation HTR by working a final YRH and pulling the yarn through all three loops.

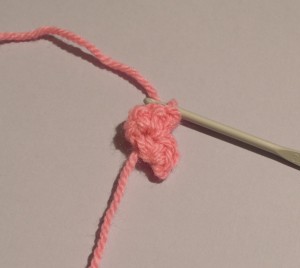
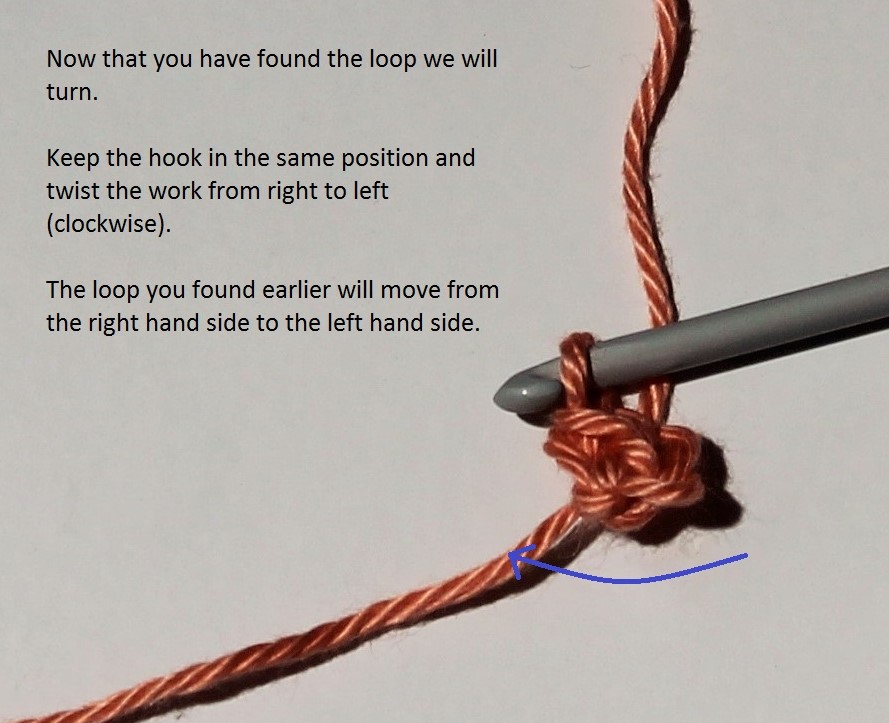
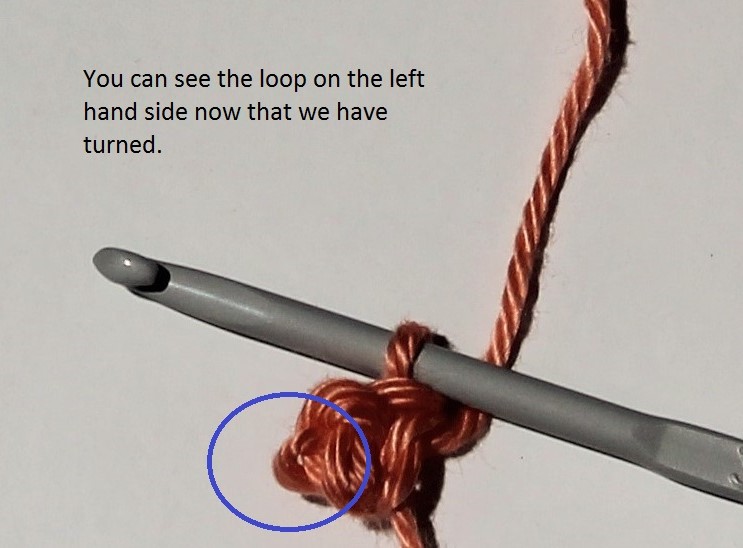
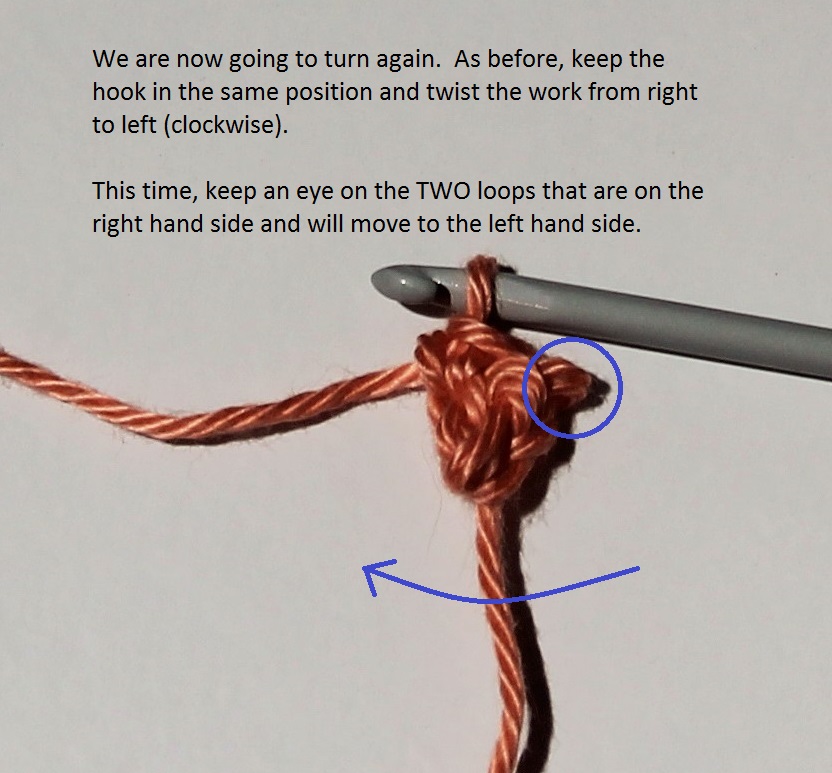
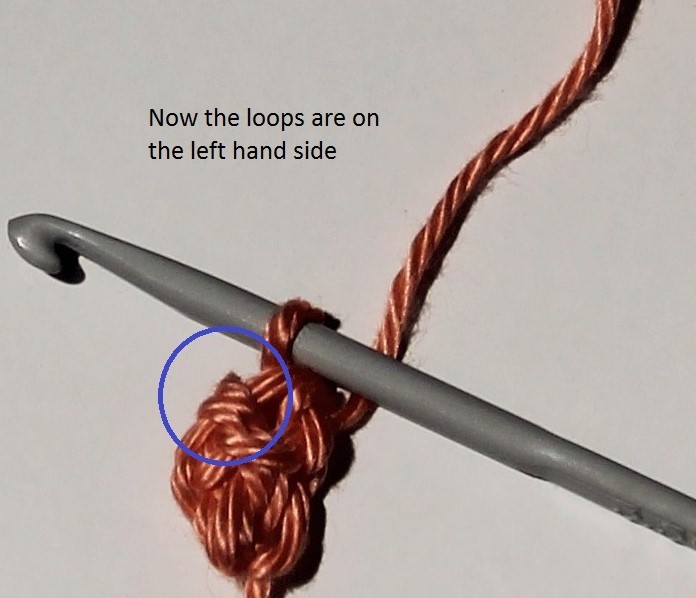
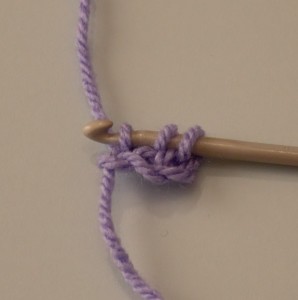
6. To work further foundation HTR, we first need to turn the work to look at the side of the stitch just made and locate the CH made in step 4. We will be working our next foundation HTR into this CH.
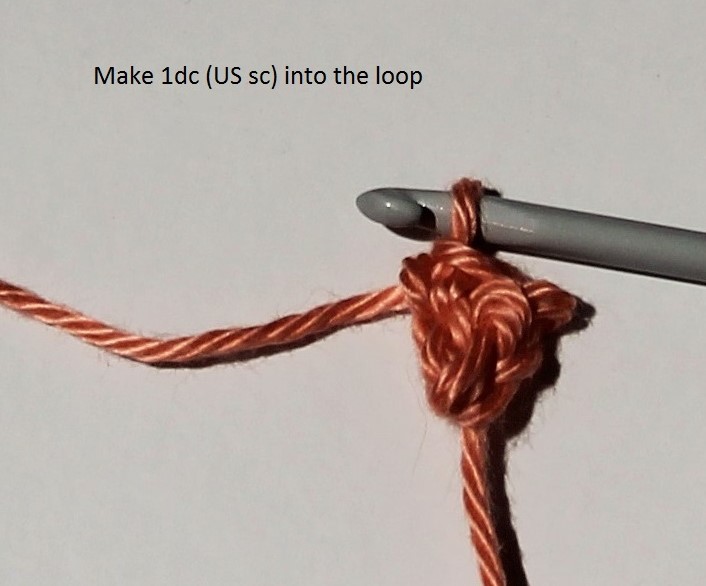
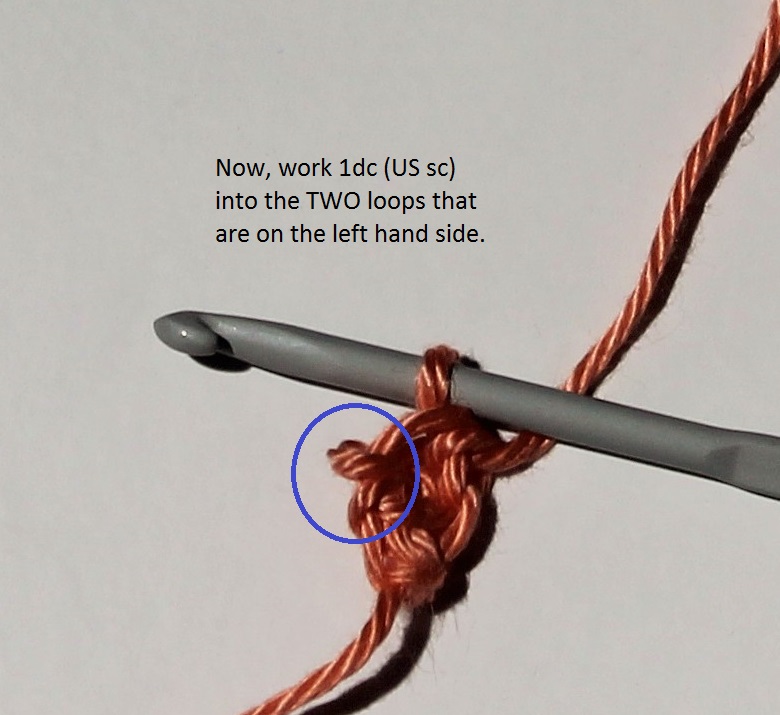
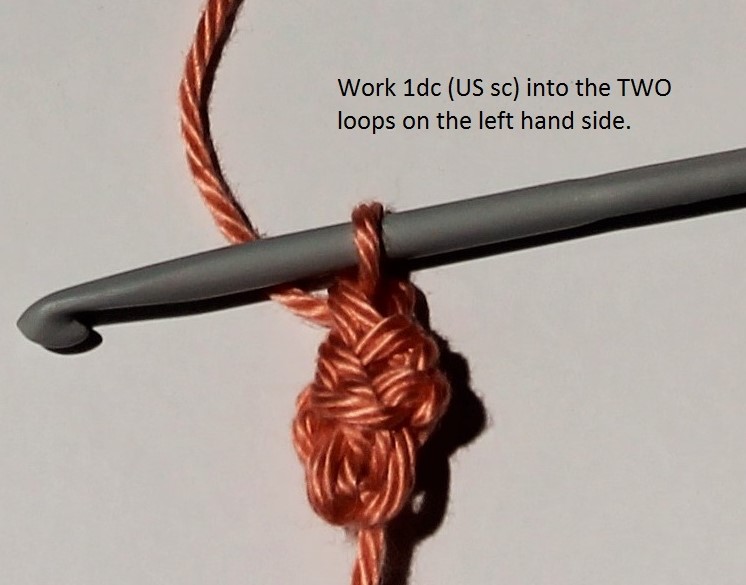
7. YRH and insert the hook under both loops of this chain ((Note: some people like to work under just the front loop of the CH but I prefer the finish when it is worked through both loops).
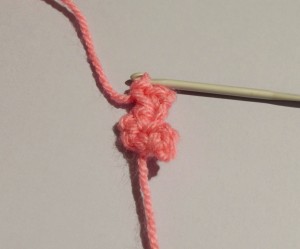
8. YRH and pull yarn through first loop on hook to make the CH for the next stitch.
9. YRH and pull yarn through 3 loops on hook.
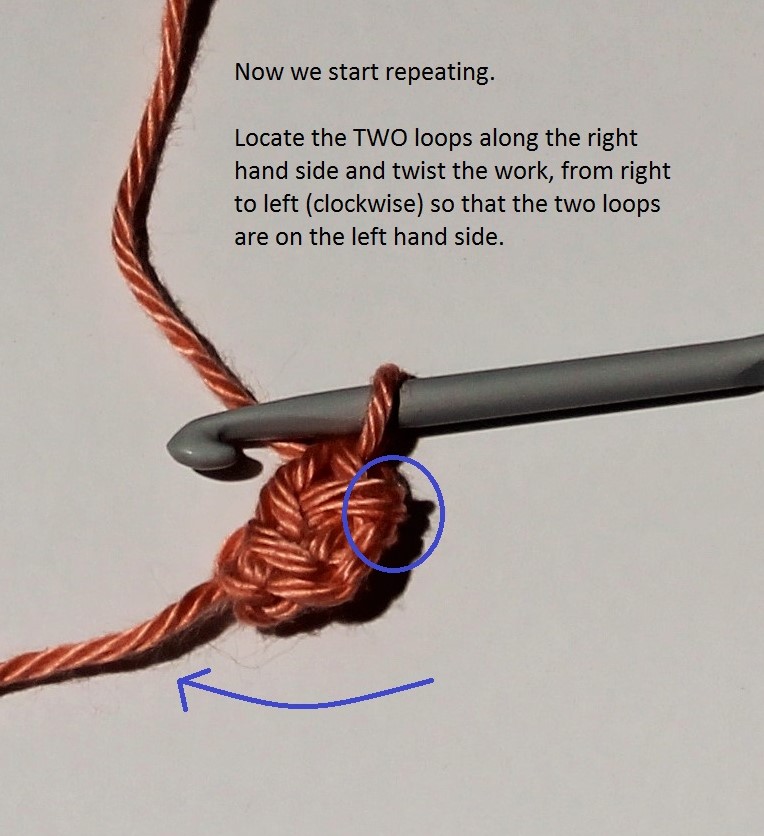
To make further foundation HTR, repeat steps 7, 8 and 9.

US Version (Alternative UK Version)
Abbreviations
CH – chain
HDC – half double crochet
YO – yarn over
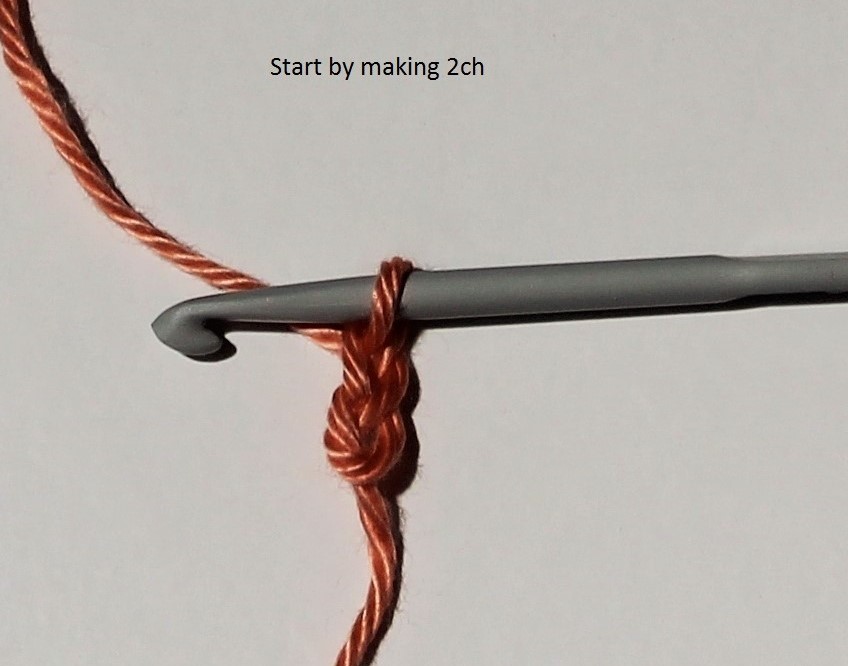
1. Using the hook and yarn you’ve chosen for your pattern, make 3CH
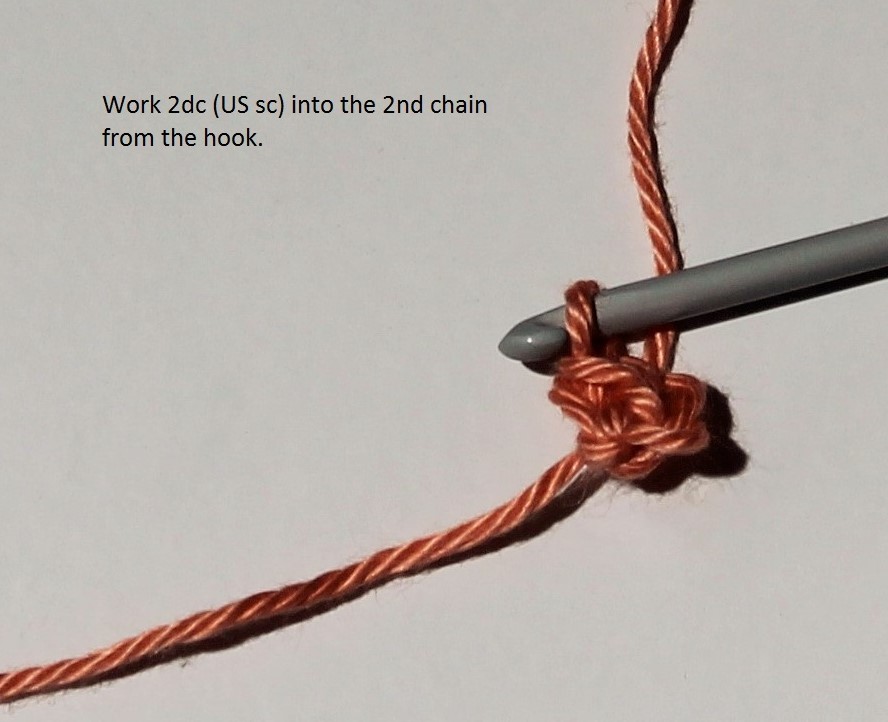
2. YO and insert the hook into the 3rd ch from the hook (i.e. the first of the 3CH you made)
3. YO again and pull a loop through the stitch – you now have 3 loops on your hook:
So far the stitch has been worked in the same way as you would normally make a HDC. But this is where it changes.
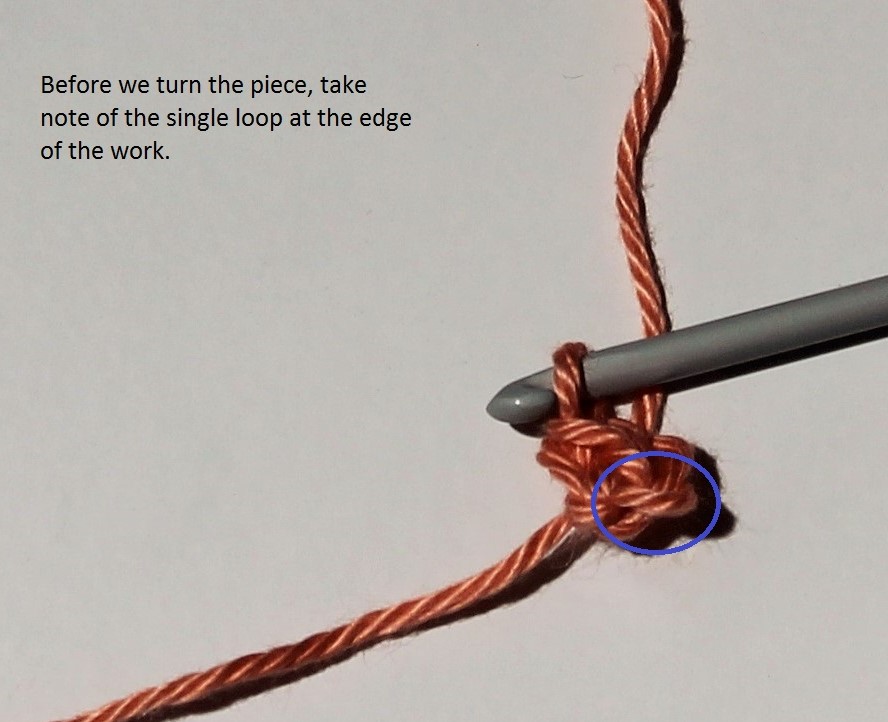
4. YO once more and pull the yarn through the first loop on your hook – in effect making a CH next to the hook – you will still have 3 loops on your hook.
5. Finish the foundation HDC by working a final YO and pulling the yarn through all three loops.
6. To work further foundation HDC, we first need to turn the work to look at the side of the stitch just made and locate the CH made in step 4. We will be working our next foundation HDC into this CH.
7. YO and insert the hook under both loops of this chain ((Note: some people like to work under just the front loop of the CH but I prefer the finish when it is worked through both loops).
8. YO and pull yarn through first loop on hook to make the CH for the next stitch.
9. YO and pull yarn through 3 loops on hook.
To make further foundation HDC, repeat steps 7, 8 and 9.