
Quick and simple project – great for beginners
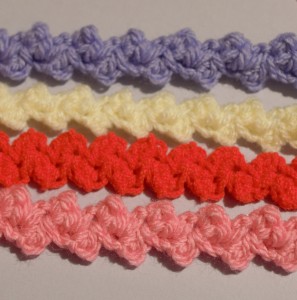
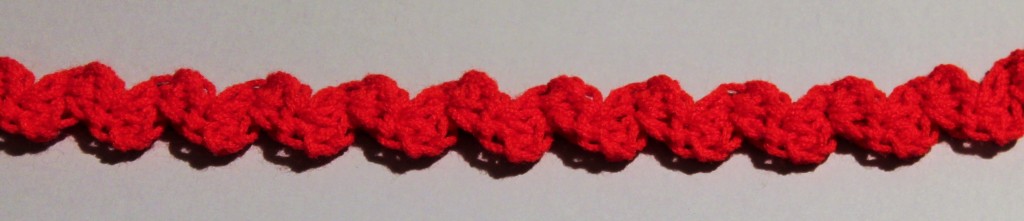
Rick Rack (or ric rac depending on where you’re from) is a flat narrow zig zag braid with a ton of uses. I personally love it as an edging on clothing and blankets but I’m sure you’ve got a host of other ideas.
The rick rack I’m going to show you today is a crochet version which is super simple and great for using up leftover oddments of yarn in your stash! You will need about 7 yards/metres of yarn for 12″ of rick rack.
You will also need a crochet hook that works well with whatever yarn you choose. I like to use a 2.50 mm with fingering/4 play, a 3.50 mm with double knitting and a 4.50 mm with Aran or worsted weight but, depending on how loosely/tightly you crochet, this will differ…feel free to experiment.
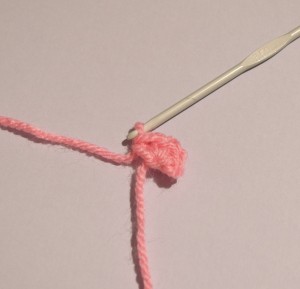
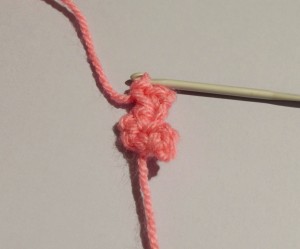
Begin with a magic loop. (If you’re not comfortable with using these, simply make 2 chain and work into the 2nd ch from the hook – this will work equally as well in this case).
So, let’s begin.
Into the magic ring (or second ch from hook) work 3 UK dc (US sc).
TURN
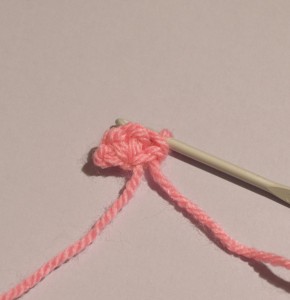
Work 3 UK dc (US sc) into the first st.
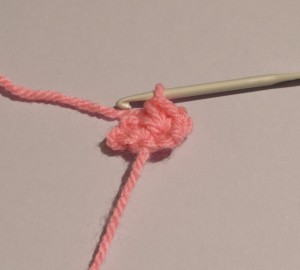
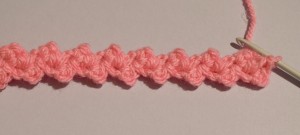
(a) TURN
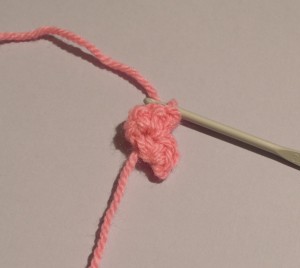
(b) 3 UK dc (US sc) in first st
Keep repeating the steps labelled (a) and (b) above and, that’s all there is to it!
Try using different colours…
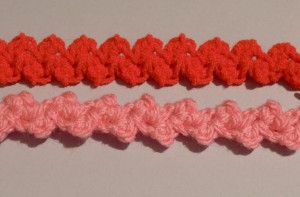
different thicknesses of yarn..
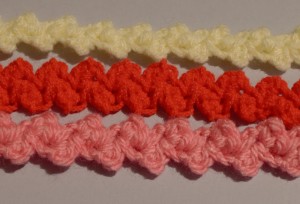
Mix it up and use up all your scraps…
Use them to trim pictures, sunhats, baskets, wrap around presents!
Why not try this thicker curvier variation!
UK) 3htr into the magic ring, *1ch, turn, 3htr in first st, rep from * to desired length.
US) 3hdc in magic ring, * 1ch, turn, 3hdc in first st, rep from * to desired length.
I’d love to see how you get on. Drop me a line over on my Facebook page with any queries, comments, pictures or suggestions ♥